Ribs and Gunwales
Busy busy busy. This post is somewhat retrospective as I've been too busy boat building and sailing to update the blog. A lot has happened in the past month, however, for this blurb, I'll talk about fitting the ribs and gunwales.
Aft of the main bulkhead, that separates the cabin from the rest of the boat, there are enough bulkheads and partial bulkheads (4) to negate the need for any extra strengthening of the hull. However, forward of this bulkhead is a large area that is unsupported. Now, there are many ways I could add strength to this section of the hull. The method most suited to this form of construction would be to laminate softwood ribs or frames on relatively wide centers. This would be lightweight and in keeping with the epoxy/wood construction matrix used throughout the boat.
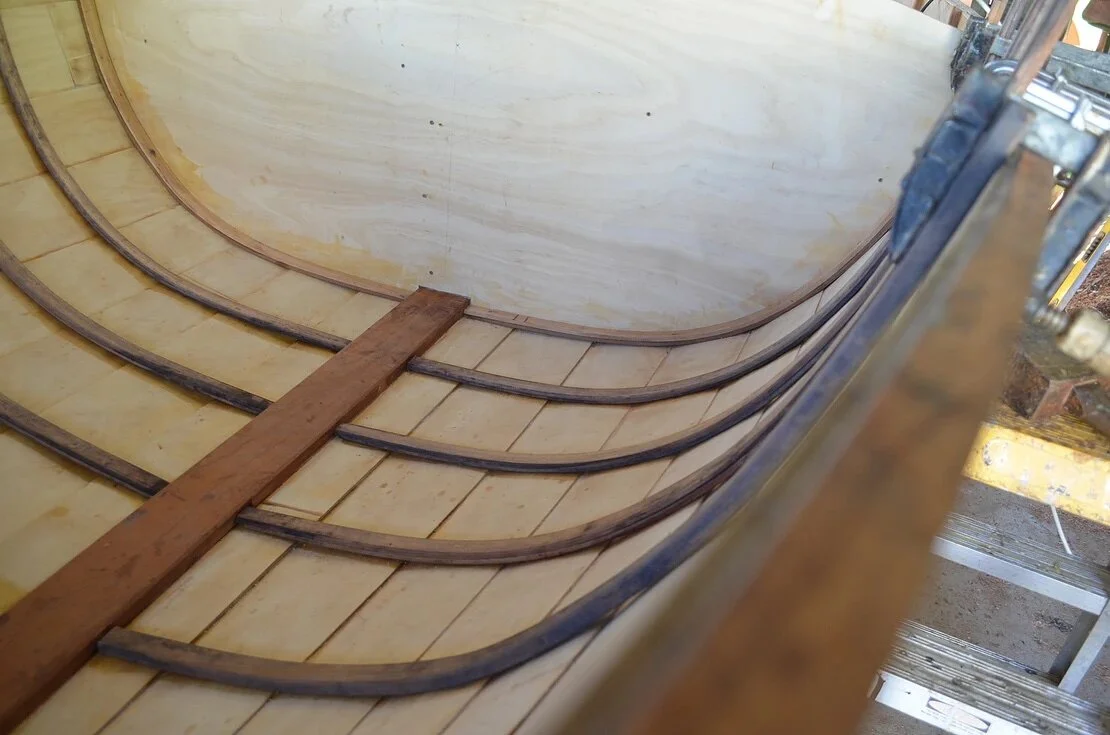
However, I chose a more traditional method that would be a bit more time-consuming and a bit trickier but would give me great satisfaction and a new skill under my belt, as well as eliminating the need for toxic epoxies. I chose to steam bend Spotted Gum ribs and fasten them with clenched copper nails.
So I set to work ripping up some nice clear Spotted Gum and making a steam box. I was very lucky to be given a lovely piece of Spotted Gum from my old boss, Simon Paroz. When it was all machined up, I had one rib left over - now that's an efficient use of the piece. The ribs were 16mm by 30mm, the aftermost ribs were done in two laminations and, where the curve of the hull reduced up forward, they went in one lamination. Thankfully. I didn't break any.
The steam team included my good friend Angus, me and my sister/camerawoman Chloe, who got some great shots of the process. Angus was a great help in fetching clamps and putting temporary fastening through the hull to pull the ribs into shape. This is a more dangerous task than one might think.
As the person on the inside pushes the hot rib into place with their foot, the helper on the outside drives a screw through the plank lap and into the rib, pulling it into its place. This is all well and good until there is a 10mm difference of opinion as to where the screw should go: This led to a screw being driven right into my foot. One tetanus shot and two weeks later, it's healing well and I'm no longer limping. That'll teach me for never wearing shoes. All good fun at the boatshed.
A quick note on fastening. I chose to use clenched copper nails, this means that a coper nail is driven through the hull and rib, and the protruding nail is hammered over at right angles, with the point of the nail facing down the rib. It may seem agricultural, however, this is a very common practice and very strong. I could also have roved the copper nail or used screws. Clenching gives a smooth finish on the inside of the rib, lasts longer than bronze screws, and is cheaper. A win win in my books. For this task I had the unfailing help of my father, Tim, who held the dolly on 144 nail heads.
Traditional Boat Building techniques
Checking the steam box
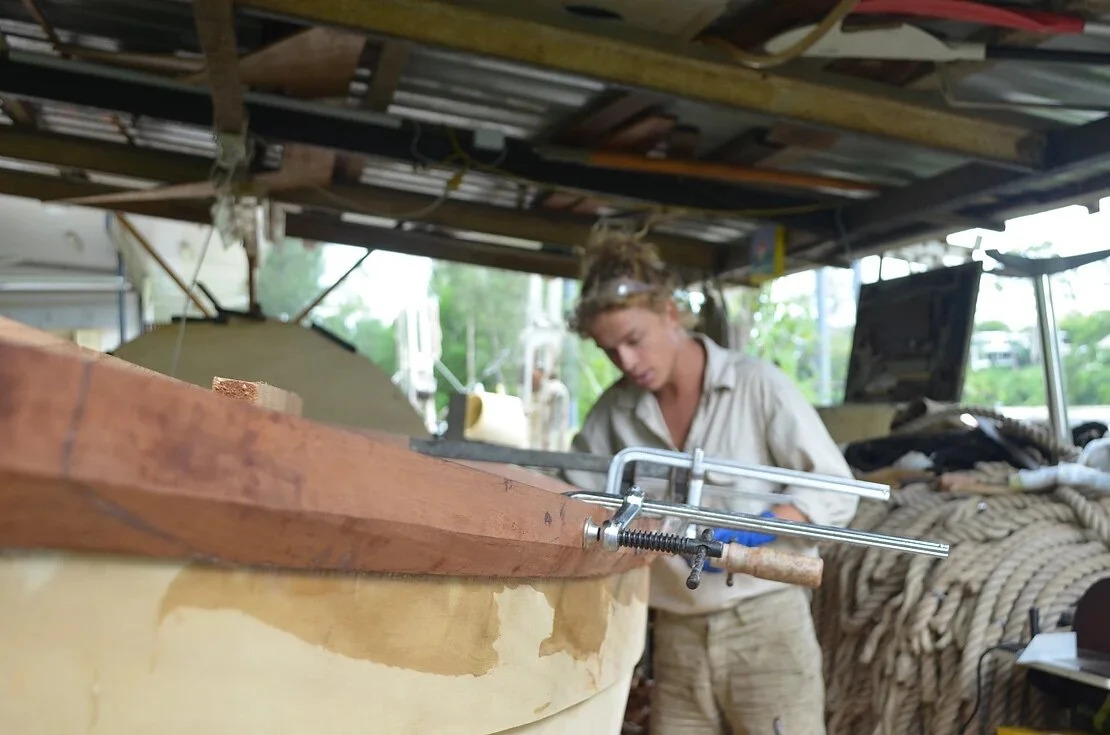
Clamping up the gunwale
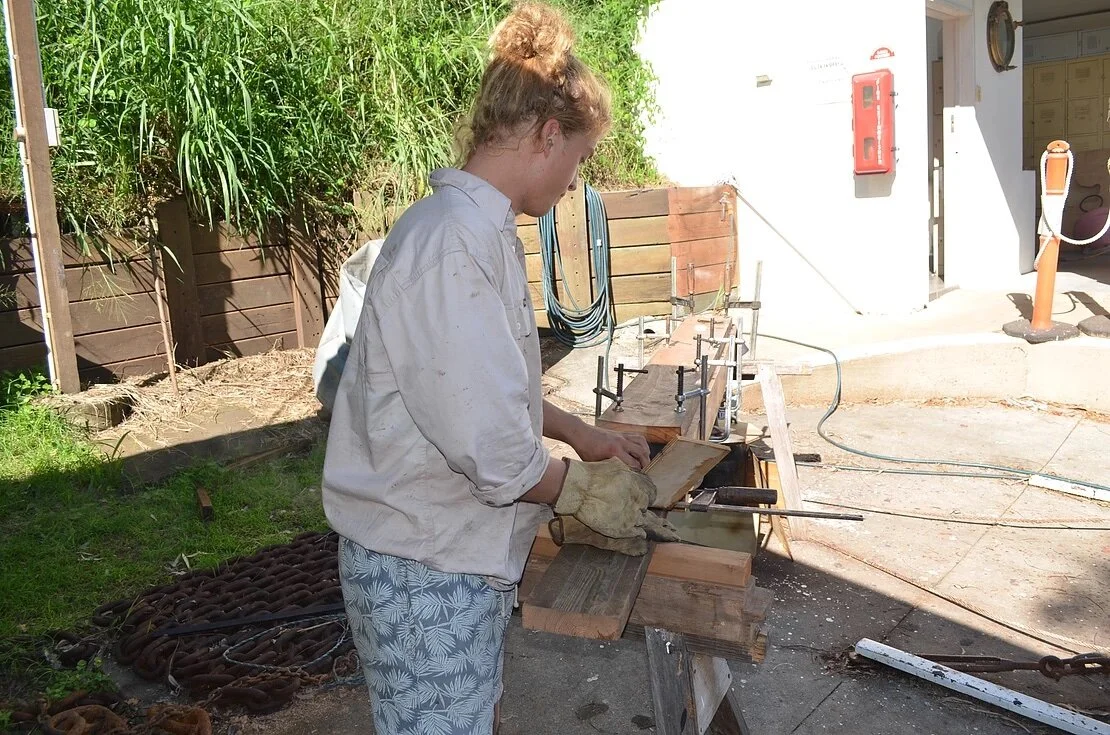
As for the gunwales, I scarphed together 3 pieces of fine Australian Red Cedar, then planed them to the profile shown in the photos. One would usually fit the gunwales nearer the end of the build, once the decks are fitted. However, as I am using such thin planking the bulkheads and laminated ribs I put in aft of the bulkhead were pushing the sheer strake (uppermost plank) out of fair. I didn’t want to worsen the problem when bending in the hardwood ribs so I chose to add the gunwale early to stiffen up the sheer strake.
I will also be fitting rope around the gunwale, this is mostly for protection when coming alongside other vessels. It also looks quite nice. For this I will need to carve a 20mm diameter half round to accept the rope. It would have been easier to do this prior to fitting the gunwales, however, I didn’t have a tool to do the job. Common sense would tell me to buy a router bit and be done with it. However, in traditional boatbuilder style I’ve found an old timber moulding plane and will regrind the iron and reshape the bottom to get the desired half-round. It might take a bit longer, but it'll bring me joy and will be cheaper than a new router bit.


