But where does the sextant go?
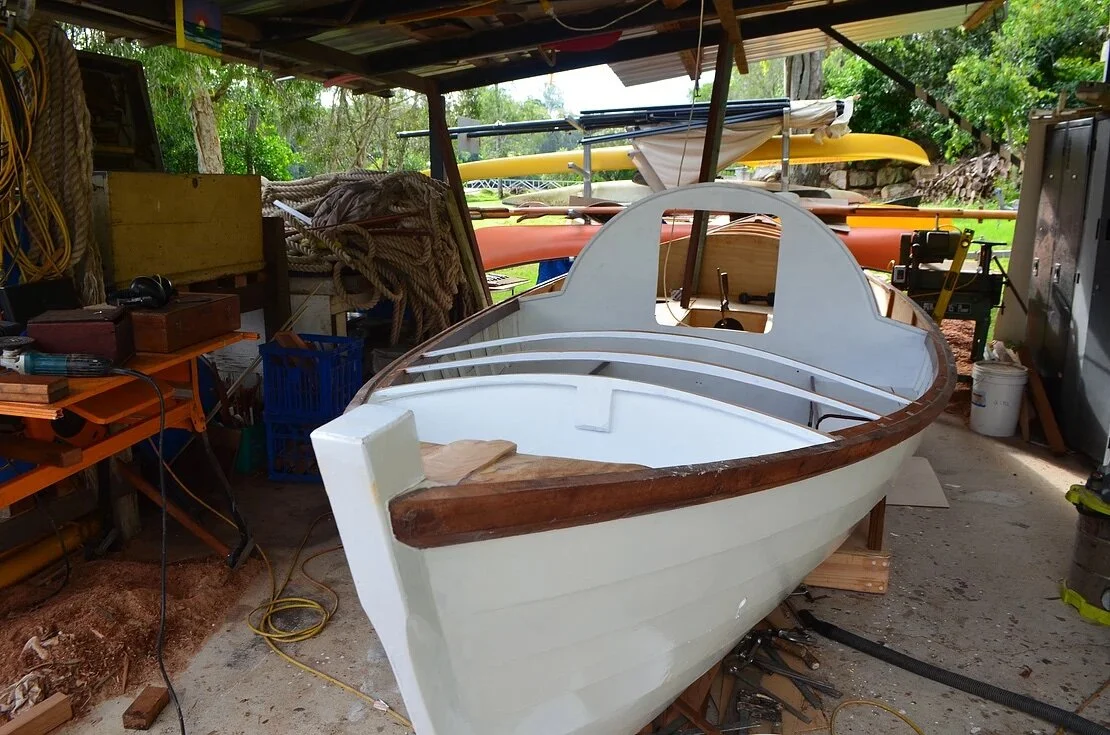
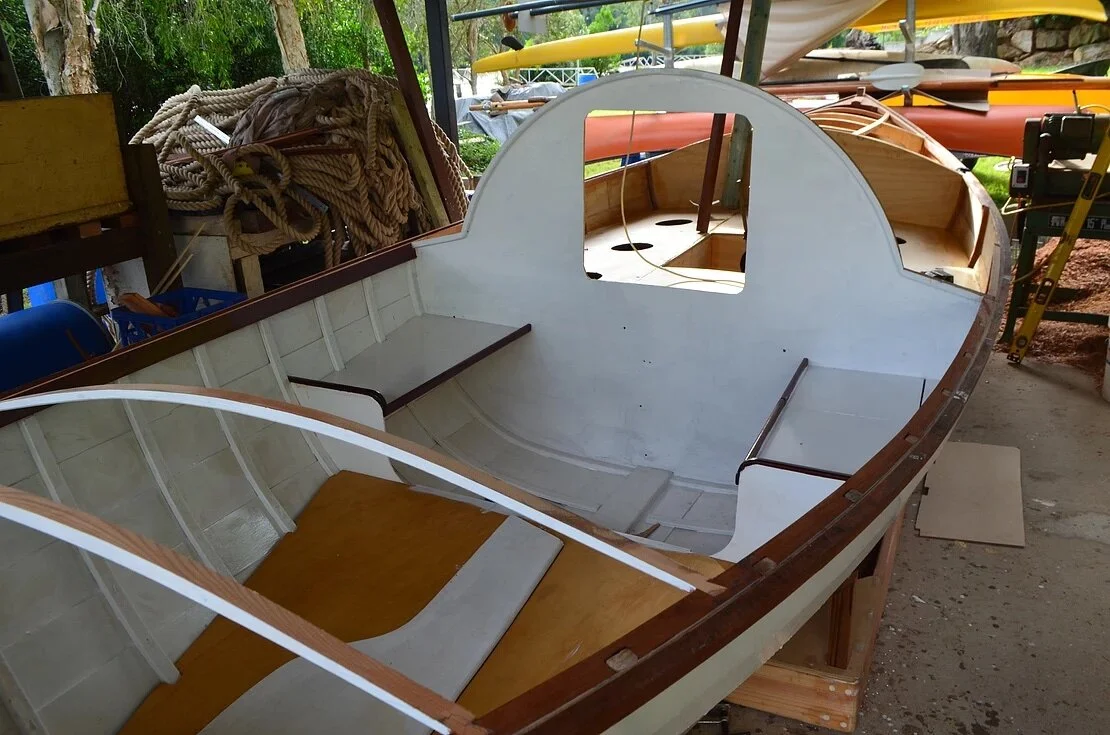
For the past week, I've been busy with the interior fit-out. With a boat as small as mine this is a relatively easy task, conversely, as everything is so small, a lot of thought must go into the design, as one needs to make use of every inch of available space.
Fit outs can range from rough and ready plywood jobs, to opulent, varnished wonders. I'm sure you can guess as to which end I favoured. Ultimately I'm building a boat to serve a purpose, the quicker I can build my boat the quicker I can move onto the next project. I'm definitely not advocating for poor workmanship, however I'd much rather be prolific then a perfectionist. I prefer the workboat aesthetic over yacht finish and generally scorn unnecessary varnish. However I decided that as I'm going to be spending months on board, a little bit of brightwork inside wouldn't hurt.
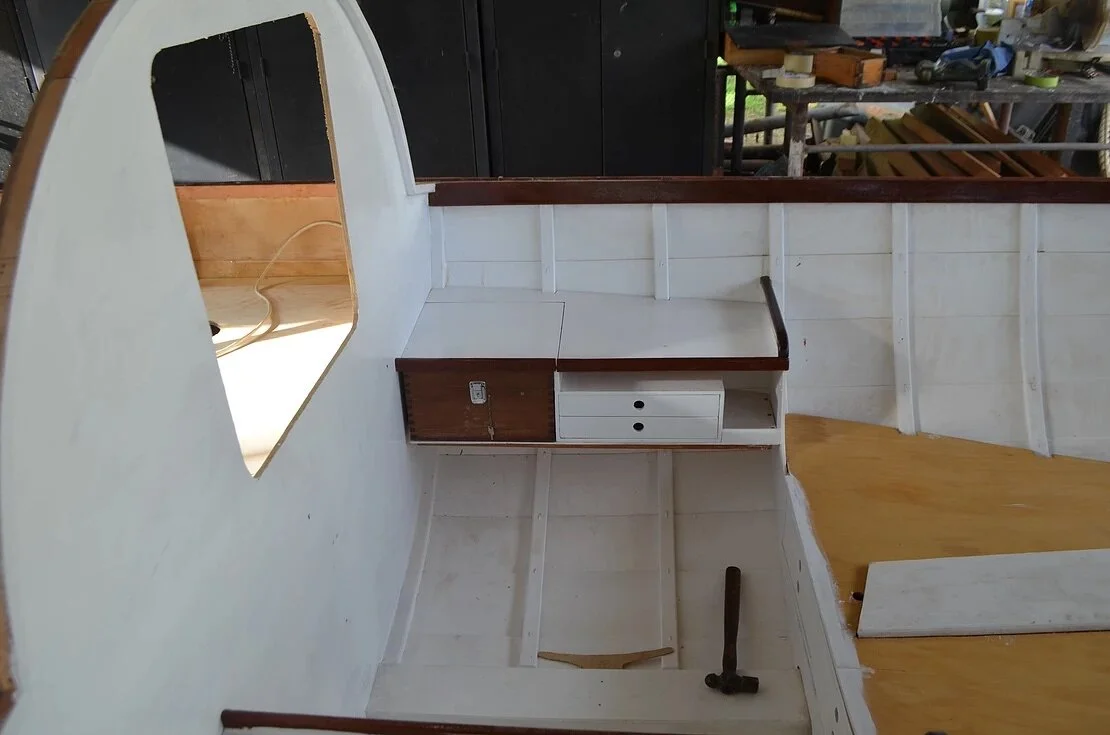
When I designed the boat the LOA was defined by what I wanted to fit into the cabin space. I knew I wanted a bunk and a separate area where I could sit to navigate on one side and cook on the other. Most ocean rowing boats just have a large flat bunk which is surprisingly high above the water line. I believe having a separate bunk and an area to dry off will be very beneficial. Not only will I be able to (mostly) maintain a dry bunk, but I'll also have sitting headroom (just).
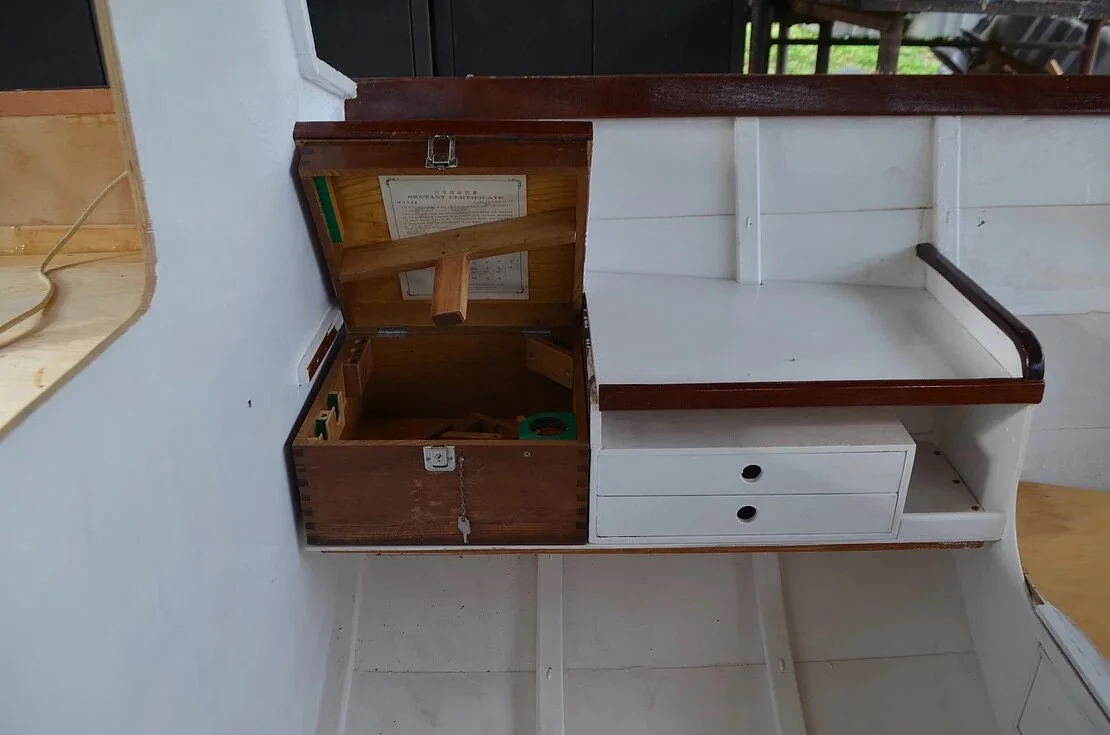
One of the biggest challenges was trying to find a place for the sextant box. As I aim to navigate celestially on the voyage I need to make sure I found a safe place for it. The box is surprisingly large and I had to do a bit of reshuffling to make it fit. Eventually it worked out well and will be secure and dry. This sextant belongs to my father who received it as a gift from his father when he was about my age. Well ain't that nice.
As you can see from the pictures I've left the starboard side shelf bare for the meanwhile. This will be where I mount my battery, electronics, vhf radio etc. As I am yet to purchase these items I'll wait until I have them before deciding their layout.
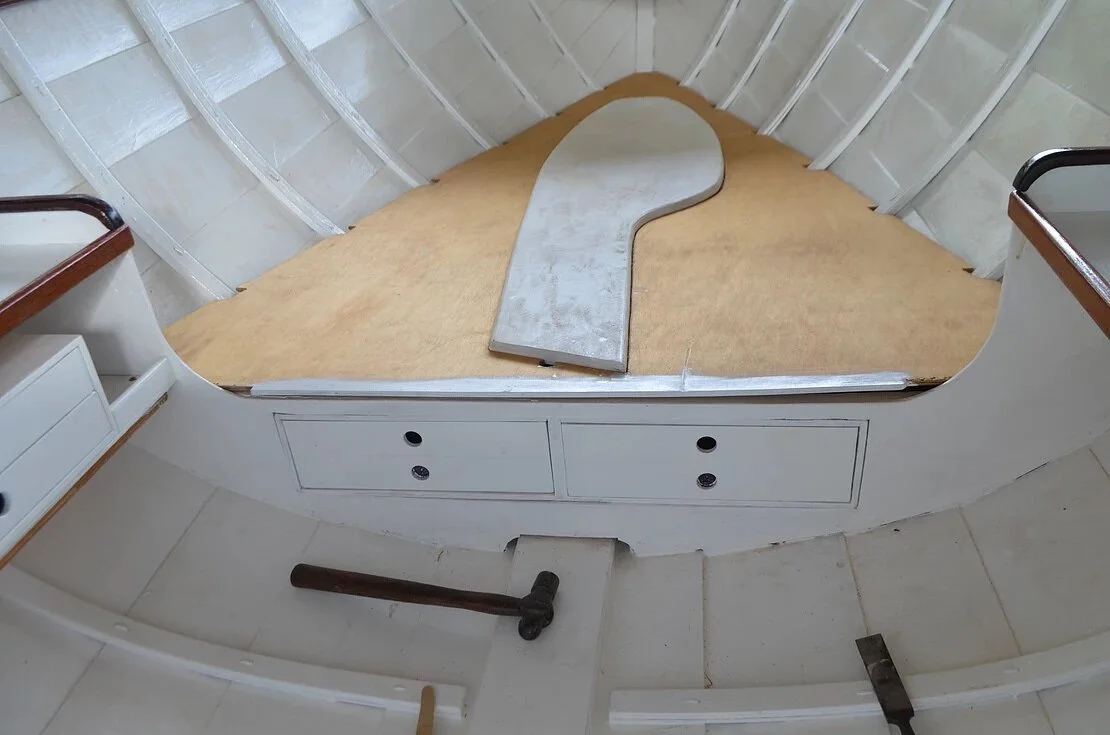
This week I also made my spare rudder. This was just 2 layers of 9mm ply glued together with the edges rounded over, nothing special as I hope to not need it. While I was making the spare rudder I was on the phone to a friend and inspiration, Andrew, who has rowed solo across the Atlantic Ocean. He passed on the great idea of making the the spare rudder the bunk lid as well. What a neat little idea! I was also able to use the piece I cut out for the main rudder. Which is 6mm ply with cedar glued vertically either side.
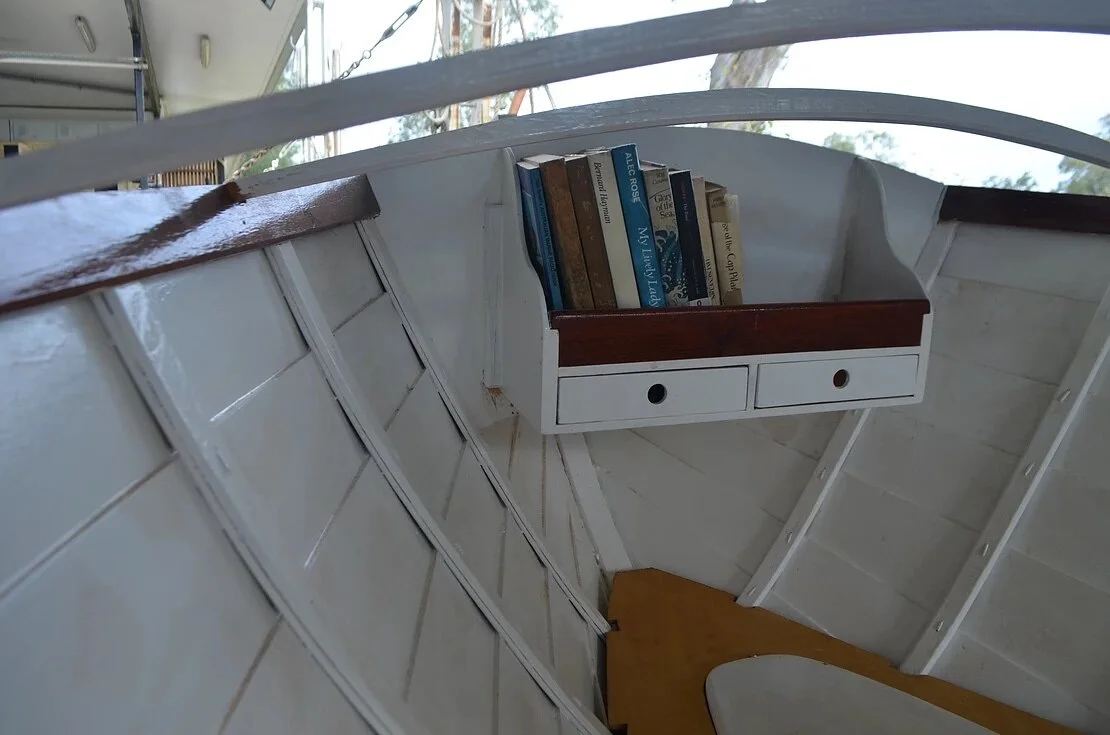
I've never seen a rowing boat with a bookshelf, nor have I head of one, but for me it was a must. Reading is a passion of mine and I have amassed quite a library of nautical classics, mostly non-fiction. It brings me great joy to see a bookshelf full of old books, and I'm glad I can bring a little slice of that with me across the pacific.
Next week I'll start making the foredeck and cabin, this is the last big stage of construction and she will take on her final shape. Exciting times ahead.
