Coamings, hanging knees and a rowing station
With the cabin and decks glued, screwed and faired, it feels like I'm almost there. Undoubtedly most of the big stuff is out of the way.
However, there is a multitude small jobs that need to be attended to. So for the past couple of weeks I've been busy sweating it over the small stuff.
There were three main jobs I had to complete before I could say I had a finished hull. They were: fitting the coamings; installing hanging knees; and fitting the rowing station components. This includes the seat rail timbers, foot stretcher plate and rowlock blocks.
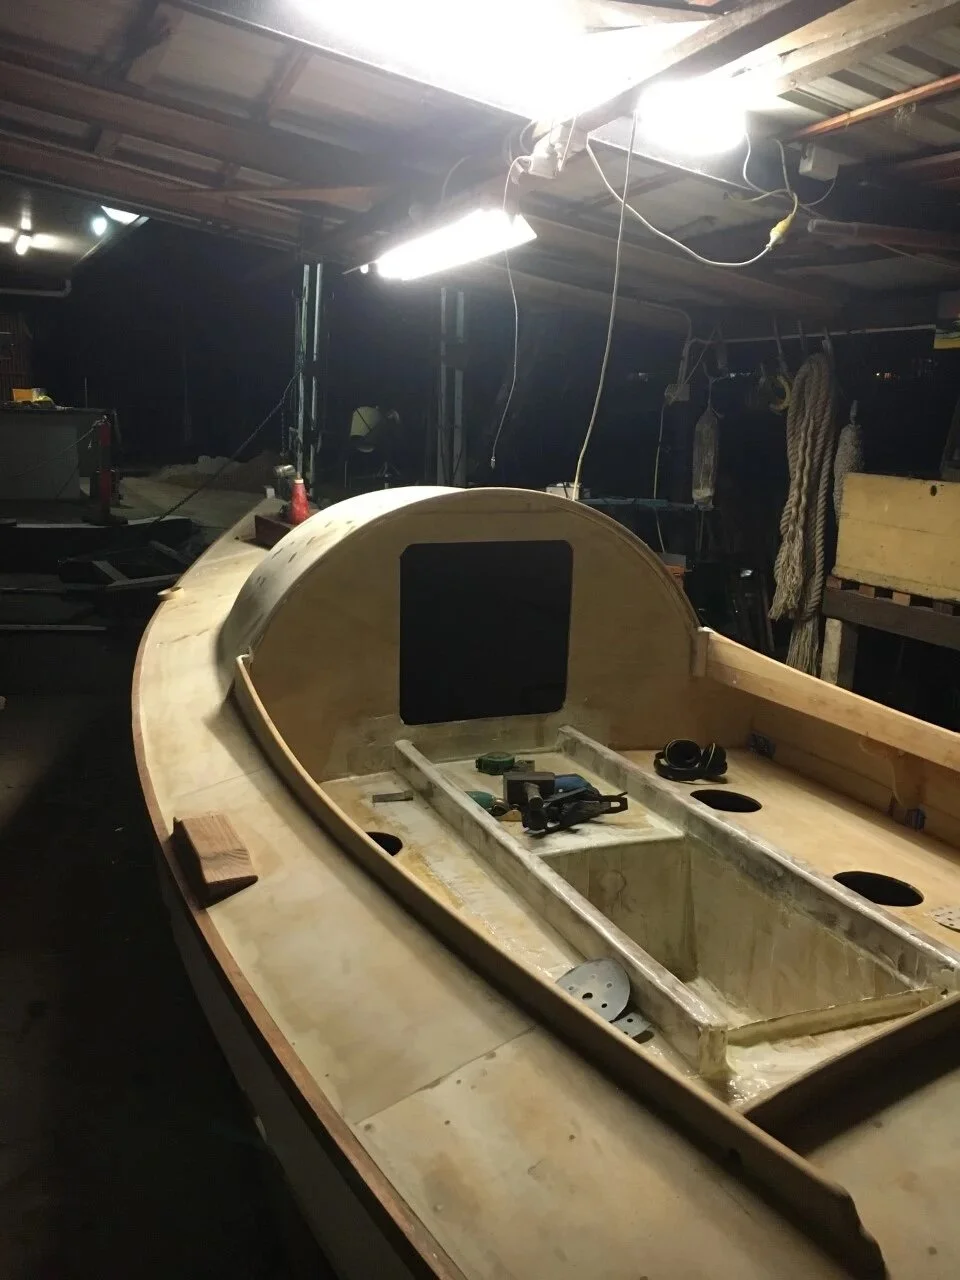
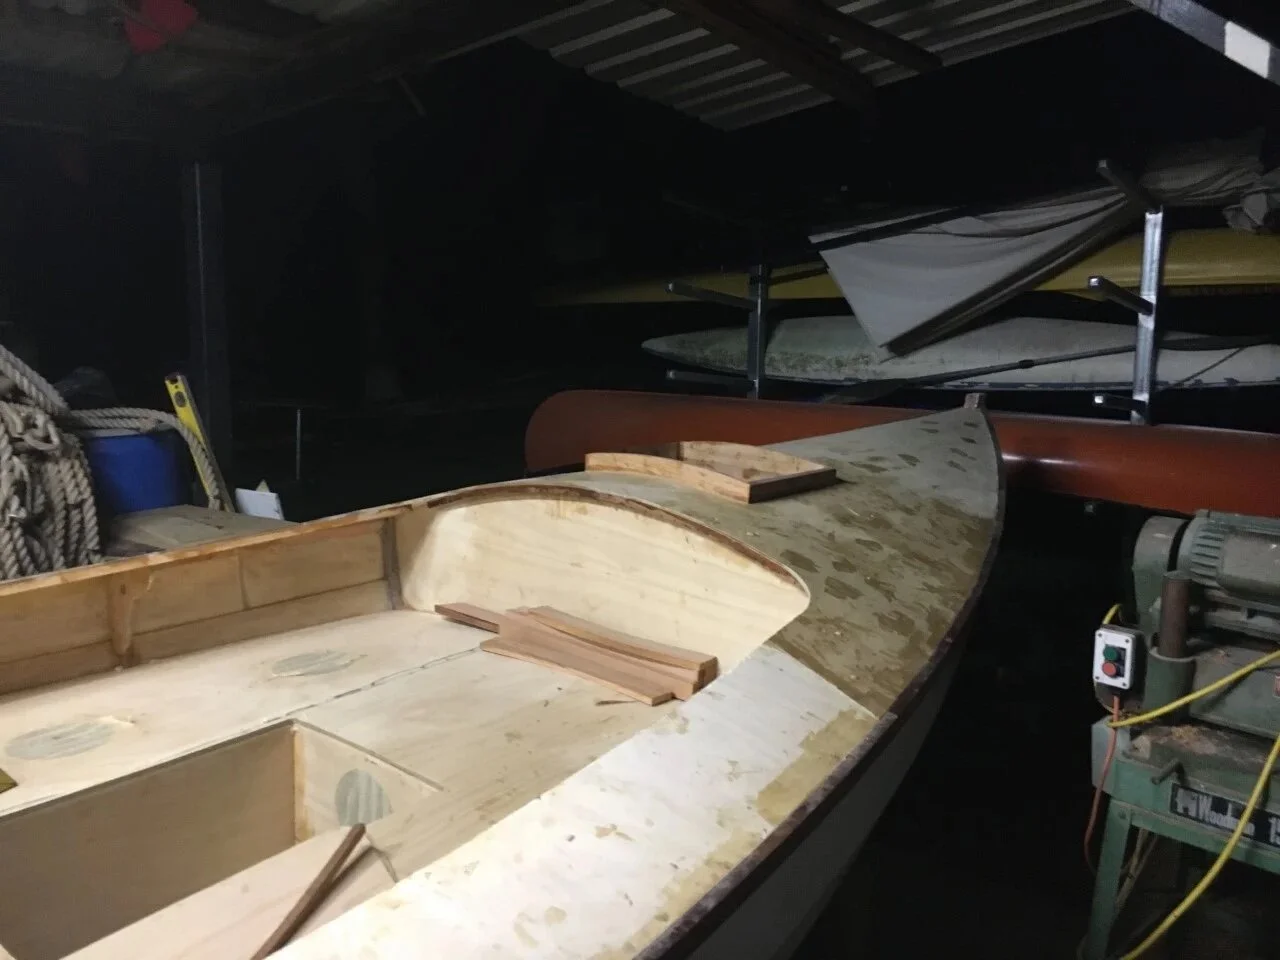
The coamings are fairly standard small boat coamings.
With their greatest height forward, sweeping aft, with a gentle and pleasing curve, they have given the boat a very yacht like look. There were a few questions regarding the angle they should be installed at, but in the end I settled with them being dead square to level, which seems to look just right in this case. Due to the arc-of-a-circle curve formed by the cabin, and the upright fashion of the coamings, there is a somewhat abrupt transition from coaming to cabin, something that wouldn't be found on a more conventional boat. This had me umming and ahhing with a furrowed brow for a while, but, as we know, everything is a compromise and by the time it's all faired in and painted, it'll look just fine.
Originally I was going to have a large radius to connect the side coamings to the aft (athwartships) coaming. This is fairly common on more modern boats and can look quite shapely. I was at the stage of cutting out the curved corner piece when my father came down to check up on progress. He quickly told me that it would look much more traditional if the side and the aft coaming met square in the corner and the side coamings travelled aft past the aft end of the cockpit, finishing in a neat little curve. I knew straight away that he was right and proceeded to throw my nice neat curved pieces in the bit and start again. It's times like these where it is invaluable to have another person at hand (hopefully with some boating and aesthetic experience and opinions) to bounce ideas off and collaborate with. Eventually I ended up with a much better result. It may seem small, but it's all the little details that go together to give one that hard-to-describe feeling when they lay their eyes on an object that looks just right. I guess that's what were all aiming for in this boat building business.
The coamings were made out of recycled Hoop Pine. I would have much rather used a piece of Cedar, but I'd run out of long lengths. Hoop Pine is one of the few softwoods available to Queensland boatbuilders. It's of a similar density to Douglas Fir, and carries many of the same properties, but falls woefully short when it comes to longevity. Its decay resistance is very poor. That being said, it was the most widely used timber in the boatbuilding industry in Queensland, second only to the ever-faithful Spotted Gum. I know of many boats planked out of hoop, some still going strong many many years later, but it'll rot before your very eyes if exposed to fresh water for too long. In this case, the coamings can't hold water and it will always drain away, so there's little chance of rot. I'm sure they will last just as long as any other part of the boat. How long will that be? Well it depends entirely on how the boat is used, stored and maintained. It should at least last as long as I do.
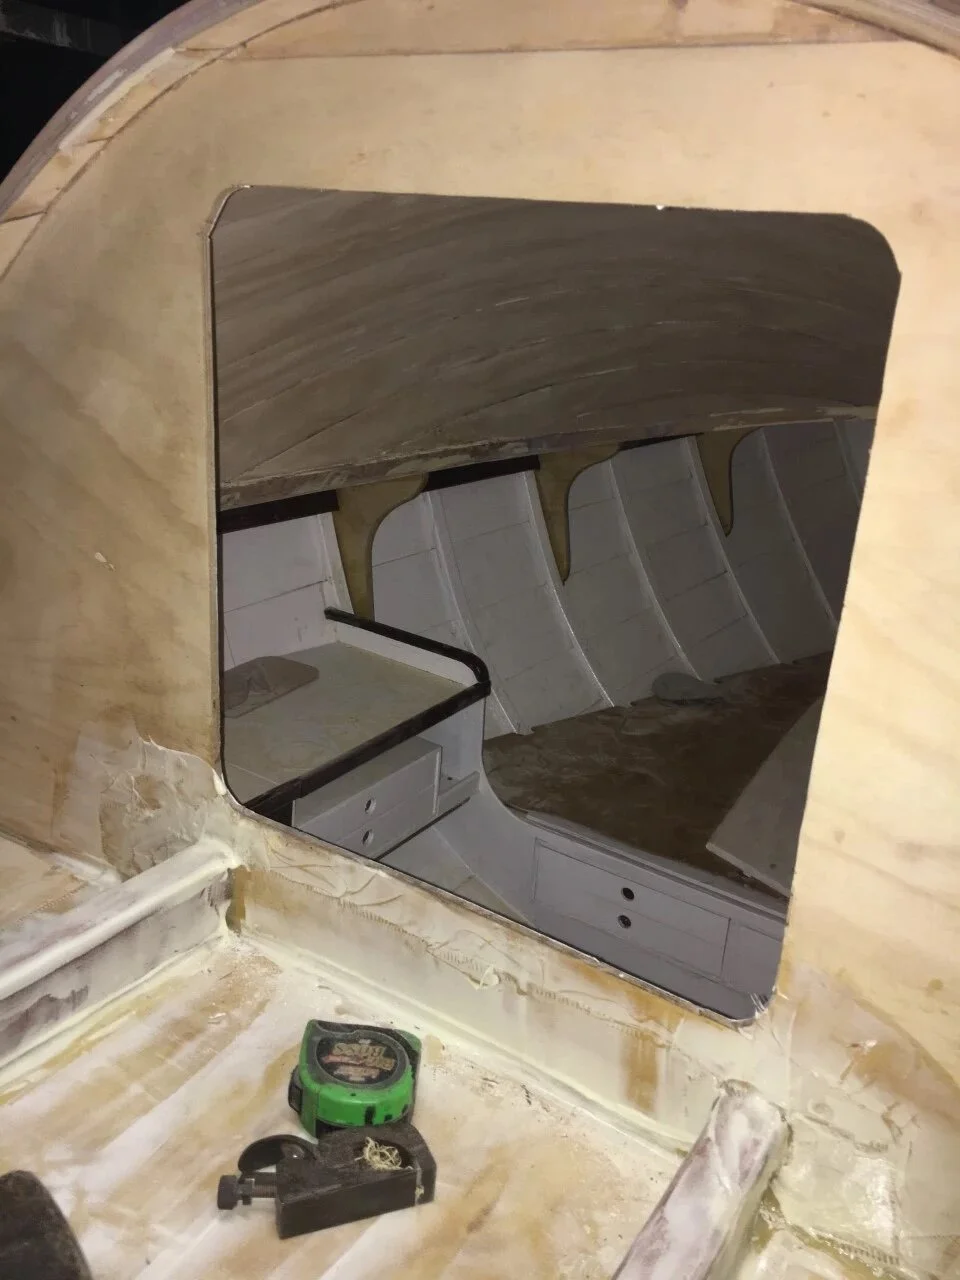
Now I'll talk about the hanging knees. They are curved brackets that stand vertical, usually strengthening the join between the hull and the deck.
Knees are hugely important in strengthening a boat. I don't recall who it was, but a famous yacht designer of the 20th century once said something along the lines of "it's one thing to put a lot of timber into a boat, and its another to put it in the right place". When looking at the plans for the boat in question, she had many more knees than one would usually find, and would surely have been a very strong boat.
So off I went to put some strength into my boat. This is a job that really should have been done before the deck went on, but, alas, sometimes we forget to remember things.
The knees were made out of two layers of 9mm plywood glued together. There are three either side, spaced evenly in the cabin, and are glued to the hull, deck head, and the forward side of the adjacent rib.
Knees always need to form a pleasing curve, and it's the sign of a good boatbuilder to have elegant and well proportioned knees in their boats. What I am about to say will contradict everything from the last post, but here we go. Where I have worked in the past, knees were always drawn using the curves of paint tins as guides. These curves were not adhered to religiously, but were the basis to form the knee's shape. This radius method fitted in well with the ideas in my last post about numbers, maths and geometry. However, the other day I was watching a boat building video on youtube, and the old boatbuilder imparting his wisdom made it very clear that knees should always be drawn freehand and never with a paint tin. The freehand curve will always be more elegant than a paint tin. So with these knees, I roughed out a curve with my carpenter's pencil, then got to it with the jigsaw. The jigsaw did a surprisingly good job of fairing the curves, and I only needed to do a little work with the spokeshave. I ended up with a knee that looks so much nicer than if I had tied to mark it out geometrically. Well, well well, there's still a lot for me to learn in this trade.
People sometimes say that boatbuilding is an art. I always disagree (that's a story for another post). But here's a little example of a bit of unadulterated free expression. Quite a pleasure.
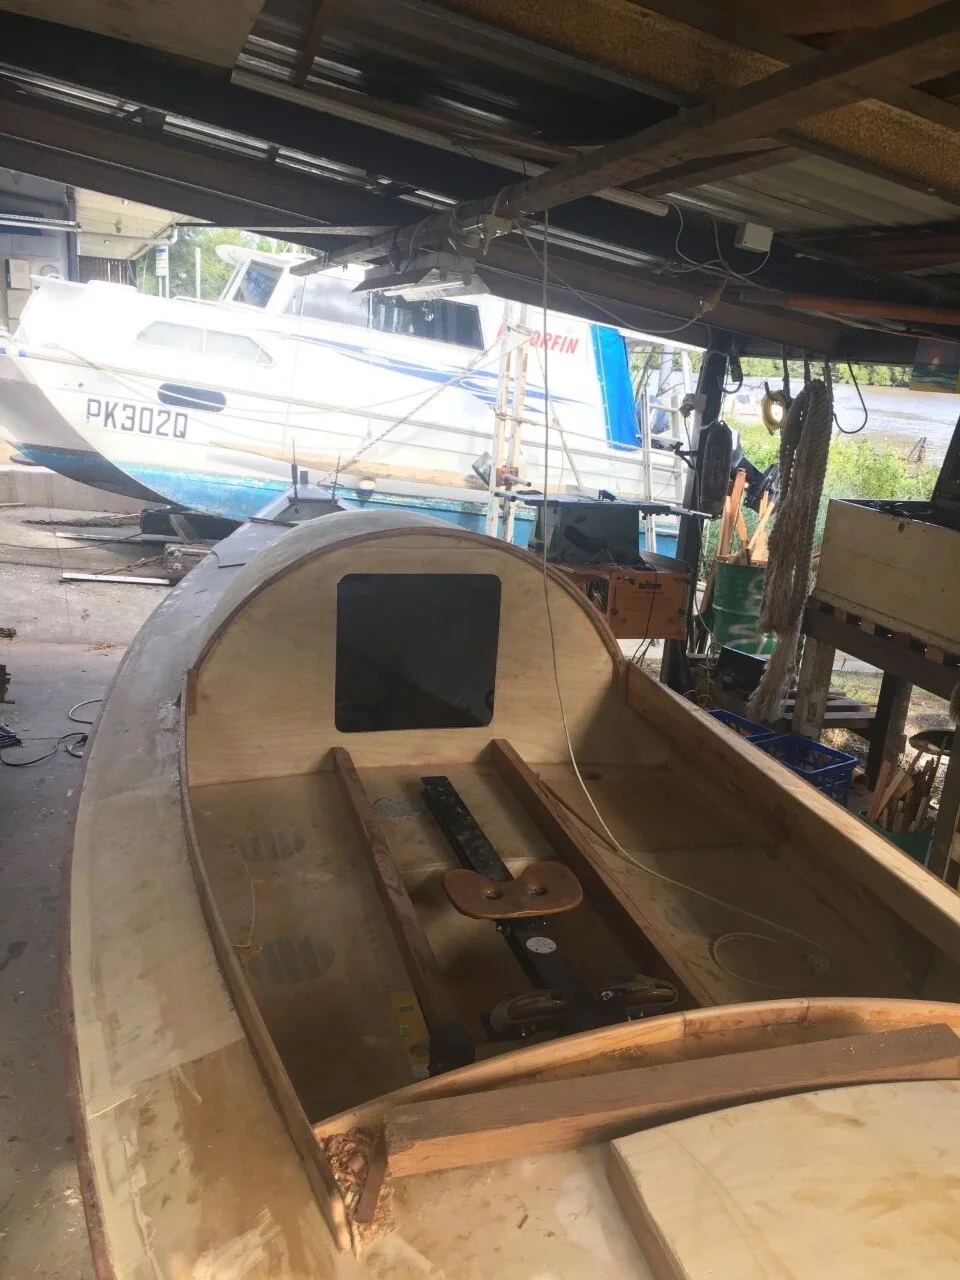
The sliding seat shown here is just for perspective.
Now we're onto one of the most important parts of the boat, the rowing station. The basic components are a sliding seat, foot stretcher and rowlock blocks. The tricky part is getting these three parts in their correct location in the boat, and in relation to each other, with the most amount of care needing to be taken to ensure their heights above the water are correct. I have set up a few sliding seats in non-standard boats before. The tricky bit is approximating the waterline, so one can work out the height of the oars and handles above the deck, to then work out the height the seat needs to be.
After a bit of guess work, I went about milling up some timber for the seat rails to sit on. These were 60mm x 40mm lightweight Oregon. Their spacing was determined by the width of the footwell. This worked out nicely as it meant that the timbers will act as coamings for the foot well. I made these longer than necessary, running from the main bulkhead, aft to the foot stretcher. This foot stretcher (or plate) worked out very nicely as all I had to do was cut off the aft corner edge of the foot well, and glue and screw a piece of plywood onto the face. The footwell was just the right size and location. While I was here I also raised the bottom of the footwell by 250mm, meaning it will hold less water but will still give me a comfortable position to stand or to rest my legs.
The rowlock blocks were last. These are pretty standard for a traditional boat, as you can see in the picture. Many ocean rowing boats have the fulcrum point for the oars outboard of the gunwale. It is usually done in a very un-seamanlike fashion with a piece of metal tube jutting out. Not only does it look unsightly but it's a danger to other boats and would be prone to bending or breaking off when coming alongside another boat at sea. For mine I will have a removable rowlock similar to any other rowing boat, so the oars and rowlocks can be shipped neatly as one comes alongside another vessel or pontoon. You will see that my rowlock blocks are relatively long. This is so I can have three different positions for the oars. On a standard rowing boat one is able to slide the foot stretcher back and forward to adjust for the different leg lengths of different rowers. This is not possible in my boat so the easiest option for me will be to have different positions for the oars. I plan on being the only person to row this boat across the Pacific. However, one should always build a boat for a lifetime, not just a single journey. Who knows who'll be rowing my boat in the future? Whoever it is, I hope I'm with them. That thought alone fills me with excitement.
That'll do for now. Next up I'll begin the painting process. Plenty to write about there.


