Paint, paint and more paint
I'm up to the bit I enjoy least. It's hard for me to get excited about sanding and painting but the sealing of a wooden boat is one of the most important processes in ensuring its longevity. This is particularly important when building a timber/epoxy boat.
There are so many different brands of paint out there it's easy to get lost among it all. The reality is that most brands are pretty good, but there are other factors that matter. I was lucky enough to be sponsored by Norglass paints. Not only do they produce a large range of high quality paints and epoxy resins, they are also Australian made. This is very important for me and should be at the forefront of everyone's mind when deciding on which brands to buy.
We'll start inside and work our way out: Start with sanding and finish with a gloss.
One of the most common, if not the most common question I'm asked when building the boat is:
"Are ya gonna 'glass it?"
This means: Am I going to sheath the hull in fibreglass? The answer is no.
I could write pages about my loathing of fibreglass and its intrusion into wooden boats, but we'll save that for another time.
The long and the short of it is that I believe it's unnecessary for the boat, bad for the industry and even worse for the environment.
This being said, there are certain applications where it's most useful in ensuring the longevity of a particular part of a boat.
For me this was the foot well. Having a non-draining foot well means that it will hold water. This is fine when the boat is being looked after, as it will have a cover to prevent it from filling up with rain water, and when at sea, a bilge pump to excuse any sea water. Now there could be a scenario one day where the boat is left without a cover, maybe on an isolated atoll on the Pacific. Who knows? But if the footwell was full of rainwater in the tropics it would not take long before rot started, especially when the boat is built out of plantation timbers. A rotten foot well can quickly turn into a rotten keel and into a 'it's probably not worth fixing' mentality.
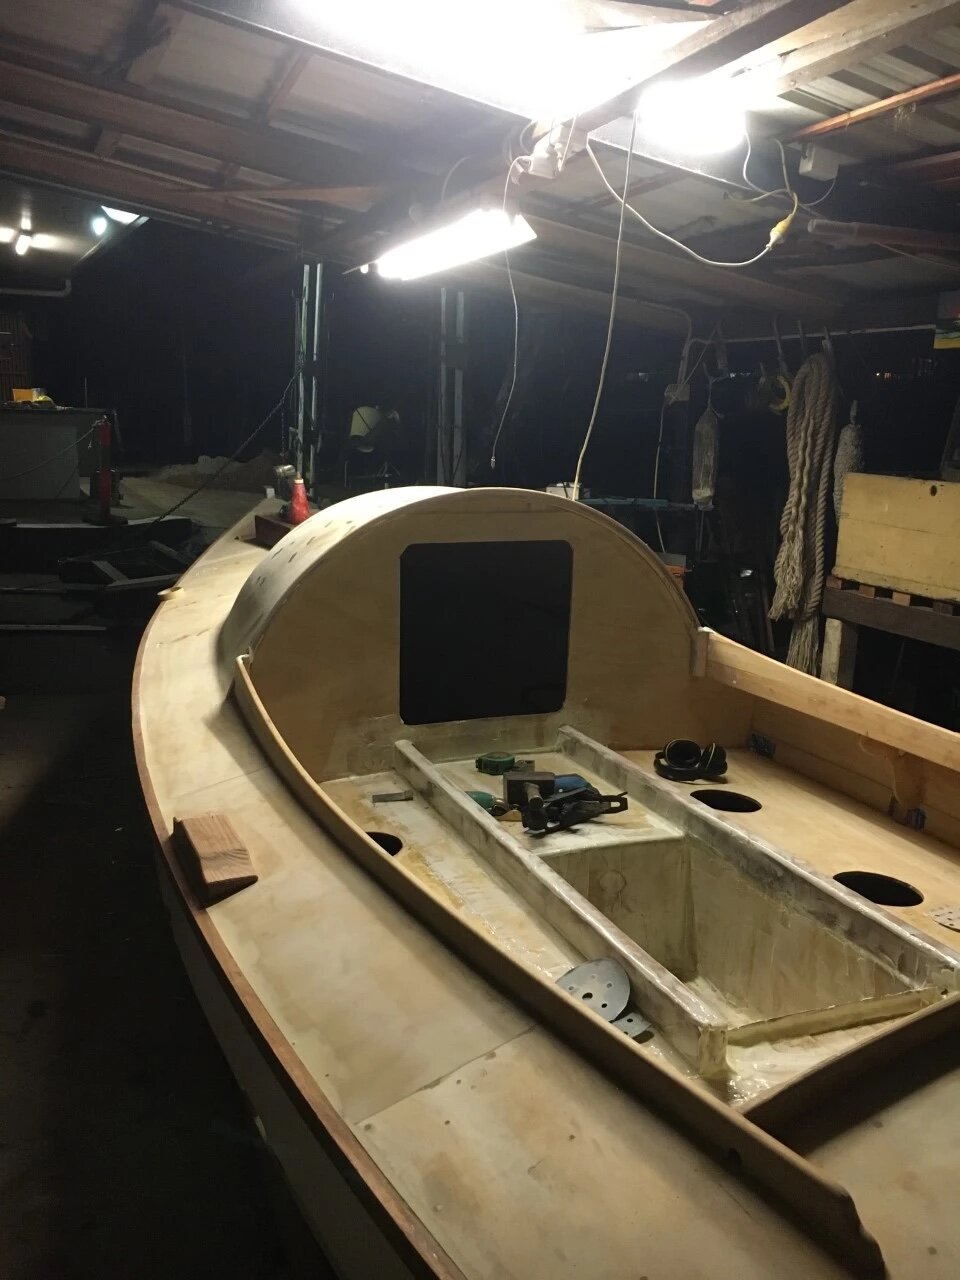
So I decided to bite my tongue and fibreglass the footwell and the seat rail timbers. The process is fairly straight forward, with one layer of 450g double bias, followed by a thin screed of lightweight epoxy filler.
Once this was sanded, along with the rest of the deck (the hull was already faired and primed), I was ready to paint.
Here you can see the footwell and seat rails after the fibreglass and filler has been applied.
The cockpit and decks received one coat of thinned out epoxy, two coats of epoxy primer, and two coats of oil based enamel. The thinned epoxy and two coats of primer were all applied in the one window. Meaning that no sanding was done between the coats as the they were applied within a timeframe to get a chemical bond. This is a massive time saver, a handy trick that doesn't seem to trickle down to the amateur boatbuilder very often. Once the epoxy primer had cured I sanded it lightly with 240 grit paper. Most of this was done with an electric sander, and the rest by hand. All the vertical surfaces, such as the bulkheads, insides of the hull sides, seat rails, and the cabin trim piece, were then coated with two coats of polyurethane gloss. The same paint that will be applied to the outside of the hull.
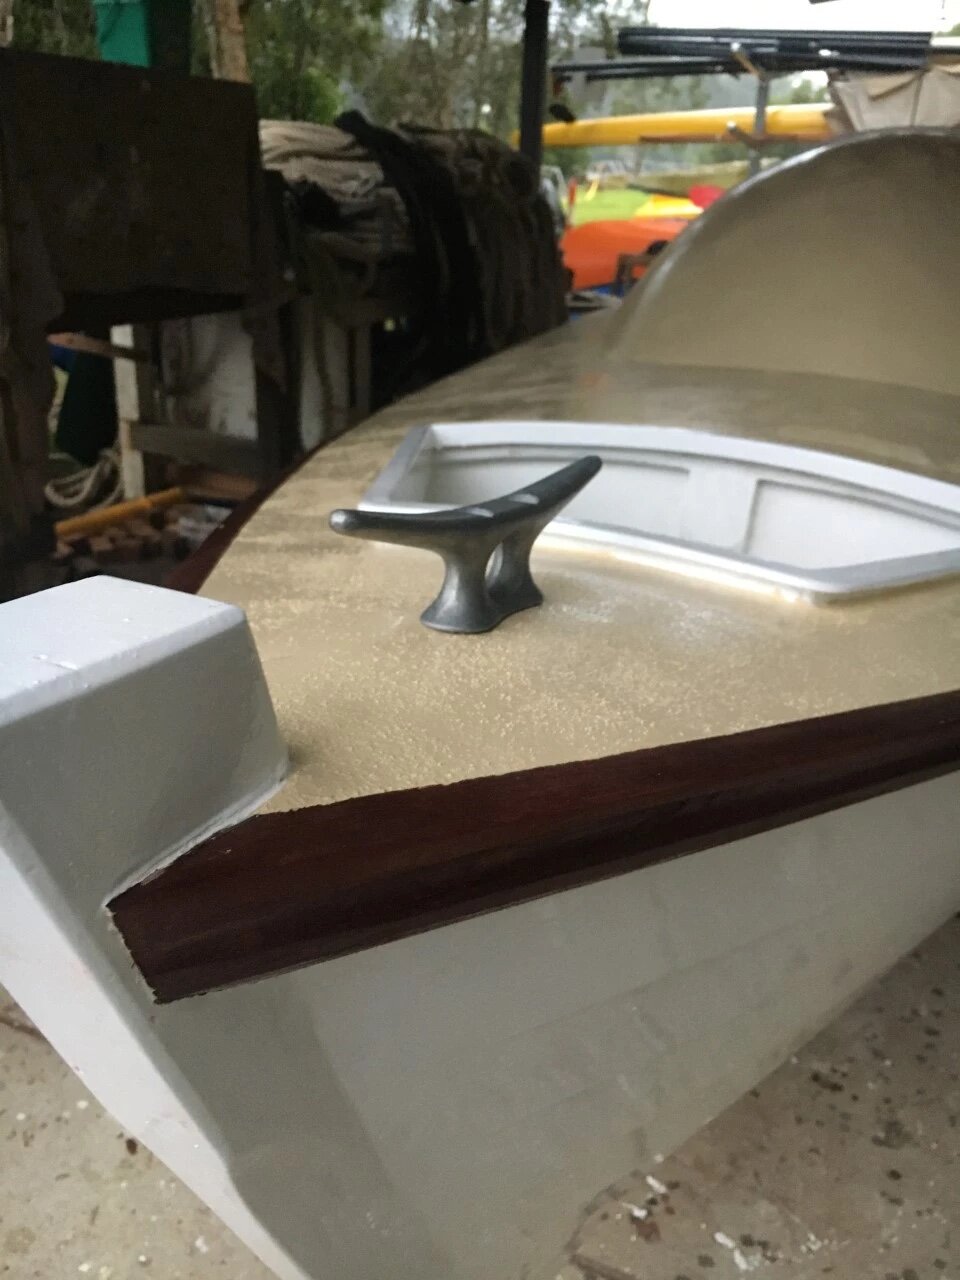
Then I was onto the non-skid. There are many ways to skin a cat and even more ways to non-skid a boat. I chose what is probably the easiest method. I bought single pack, oil based enamel with the aggregate already in the paint. All I had to do was stir the tin and roll it on. I was very happy with the non-skid. It's a lovely colour, has a good amount of aggregate and was very easy to apply.
I often wonder how boatbuilders and painters of days gone by survived without painters tape. It's such a handy tool, not just for painting, and makes any job look professional.
Where the non-skid meets the white paint of the bulkheads and sides, or the varnished gunwale, there's a very obvious contrast, and this must look neat. I decided to tape up the gunwale where a nice sweet line is very important, and the contrast between the non-skid and varnish will be very obvious. I then 'cut in' the rest of the paint work. This simply means not using tape, instead a steady hand and some patience. A cut in job will never look as good as a taped up one, but to my eye its much more traditional and that slight imperfection in the work ads a sense of character and beauty that is fast becoming obsolete in our mass produced world.
The gunwales and the underside of the cabin were varnished with traditional oil based varnish - another great product from Norglass. I found it dries quickly meaning I could get more coats on each day. The gunwales received 8 coats and the cabin 3.
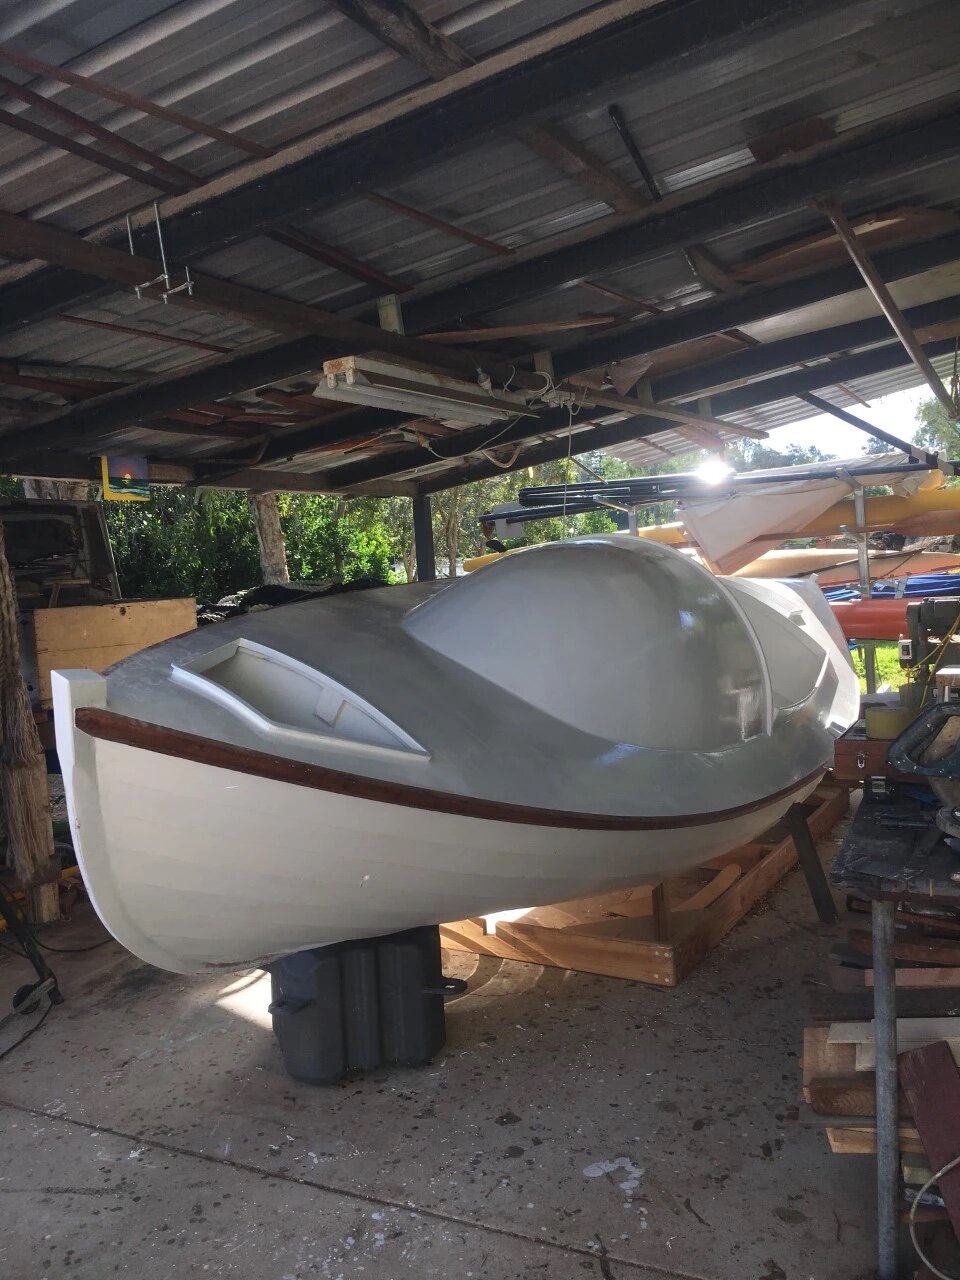
Next I was onto painting the hull. For this I sat the boat up nice and high on milk crates, and tipped the boat over, back and forth during the process. This saved a lot of bending over and neck cranking. However, it did require a fair amount of balance and concentration. To tip the boat from one side to the other I had to: lift up the low side, this meant the boat was only balancing on the keel; slowly shuffle up to the bow, while keeping the boat level; a quick step around the bow, all the while balancing the boat; then another quick shuffle back down to midships on the other side, where I could pick up the prop with my foot and slowly lower the boat onto it.
The hull received two coats of epoxy resin, two coats of epoxy primer, then two coats of polyurethane gloss. Once again a chemical bond was used for the resin to primer stage, then the primer was sanded before the topcoat was applied.
The paint job turned out just fine, nothing flashy, but a solid job that should last a few years to come.
We're getting close now! The next step will be installing fittings such as cleats, hatches, sliding seat, etc.


