Moulding the Cabin
This week's challenge was to design and build myself a cabin. This is somewhat of a daunting task as the top hamper of a vessel will make or break the aesthetic value of a boat. Many a beautiful hull has been ruined by a greedy owner who wants more cabin space than the designer intended. Unfortunately, many people choose interior volume over good looks.
Most ocean rowing boats have woefully unattractive cabins. These, however, have a very specific purpose. They are large, so as to make the boat unstable when upside down. This means that the boat will automatically self-right if capsized.
Before this project began I knew I wanted to work out an alternative method for self-righting, for two reasons. First, I don't want to be seen in an ugly boat. This rules out the option of a large self-righting cabin. Second, a large cabin creates a lot of windage. This is mostly advantageous when ocean rowing downwind. However, it takes away from the pure challenge. It also means that the boat cannot be rowed into a head wind, making it unsafe in any conditions other than a following breeze.
After much research I found a local company that has been making inflatable bags, for emergency buoyancy and self-righting applications, for over 30 years.
For my boat I will have a folded up bag, approximately 1 m3 strapped to the cabin of my boat. It is connected to a scuba cylinder.
If I do happen to capsize, I am able to open the valve on the tank and inflate the bag, automatically righting the boat. During the sea trialing process I will test this system in many different scenarios.
With the issue of capsizing sorted I was free to design a cabin to my liking. My only parameters were that it had to be aerodynamic, and I wanted sitting headroom ...
If I wanted to be an outright purist I wouldn't have any cabin at all, just a heavily cambered deck. This would have looked very nice, and the boat would have performed well going upwind. However, I don't much fancy spending 9 months in a boat in which I can't sit upright, out of the rain. So before even staring I was sacrificing aesthetics for interior space. tsk, tsk.
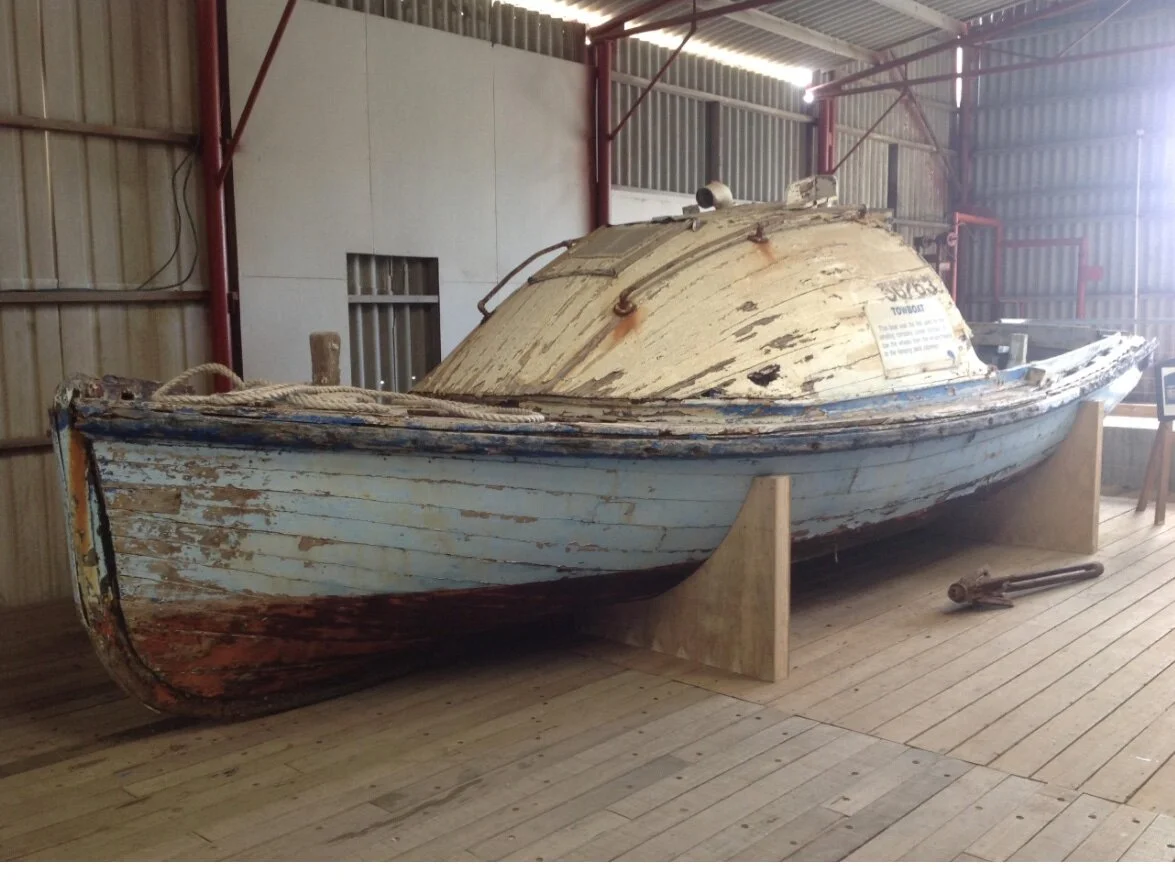
With this in mind, I went about researching cabin shapes on traditional boats. I found a few old boats with cabins very similar to the one I envisioned. The photographs were a great inspiration. However, I could find no information on how the shapes of these cabins were obtained.
'Georgic' a West Australian whale tow boat! 1918
Photo from Jim Toplin's instagram, go check it out
I could have designed a free form shape, like the hull of a vessel. This would have produced a nice shape, however it would have been more time consuming and more complex than was necessary. Also making it more difficult for someone else to build a copy, working from plans.
During my research I came across an American woodworker who is known for using geometry and marking out methods that simplify and standardise complex woodworking tasks. I believe most of this knowledge was common place among medieval craftsman, but has now been almost lost. It sparked a realisation in me that many of the hundreds of decisions made by the builder regarding sizes and shapes of parts of a boat can be obtained by simple formulae or rules.
This led me to think there must be a way to build a shapely cabin while still sticking to a rule.
With this in mind I played around with different types of curves, such as a standard deck beam camber, parabola, arc of a circle, etc. Trying to find a nice shape.
A standard deck beam camber is more curved in the middle and flattens off towards the ends. This is unnoticeable on a normal boat deck, but when I increased the height to width ratio, to get get the headroom I desired, the curve looked something like a mountain - quite unattractive.
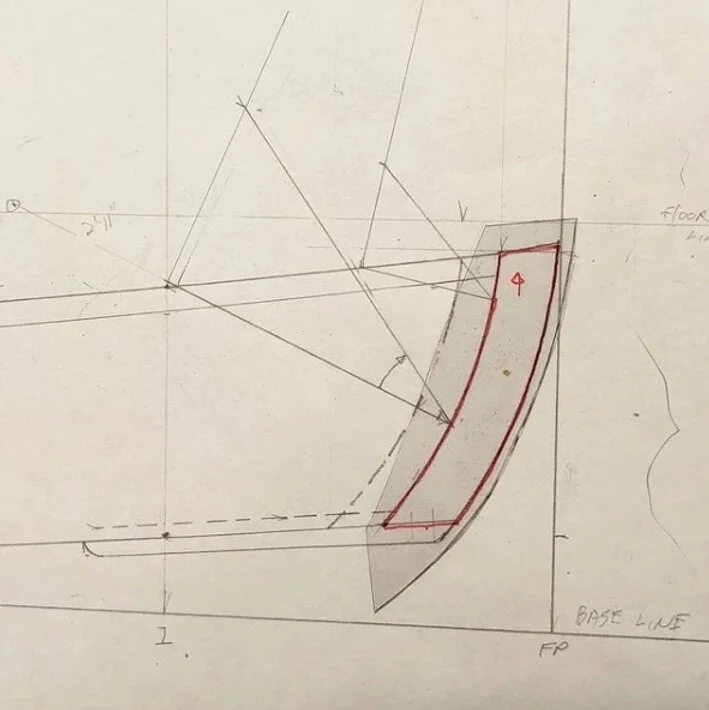
I then tried using an arc of a circle. To ascertain the diameter I worked out the height above the deck I needed for headroom, then the space between the side decks. I then drew these three points on a sheet of plywood. Armed with my trammel points and a sharp pencil, it didn't take long to work out the diameter and the centre point of this imaginary circle.
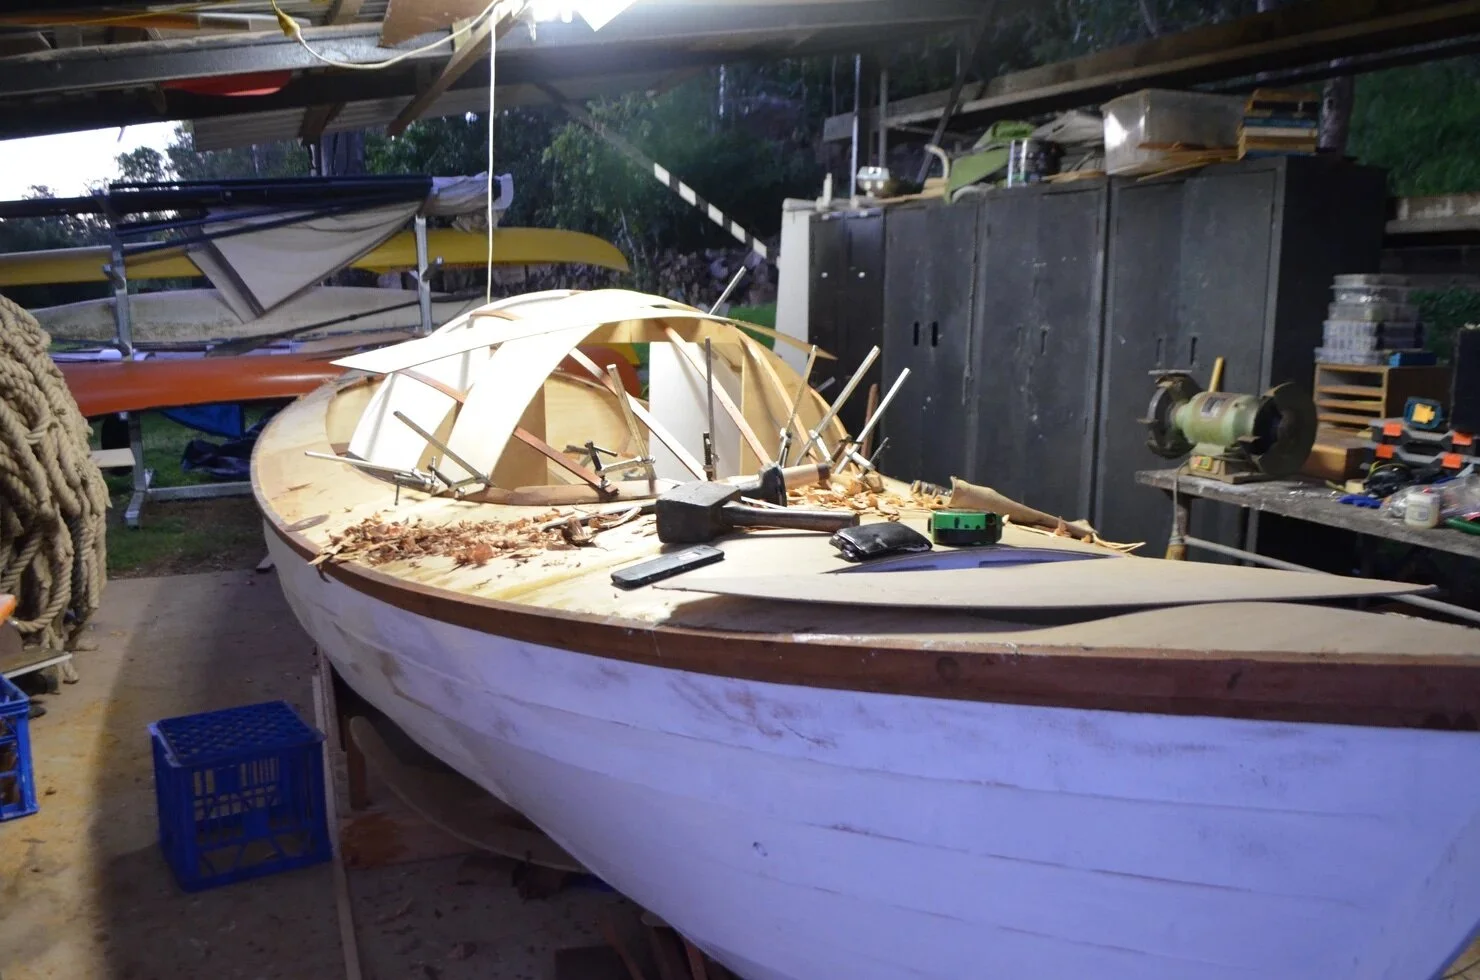
I liked what I saw, so I then carried that centre point forward about 600mm, and made a second circle with the same centre point, but with a smaller diameter to meet the the diminishing width between the side decks. So far so good ... Once I had these two moulds, I sprung battens around, and pushed them down to meet the foredeck.
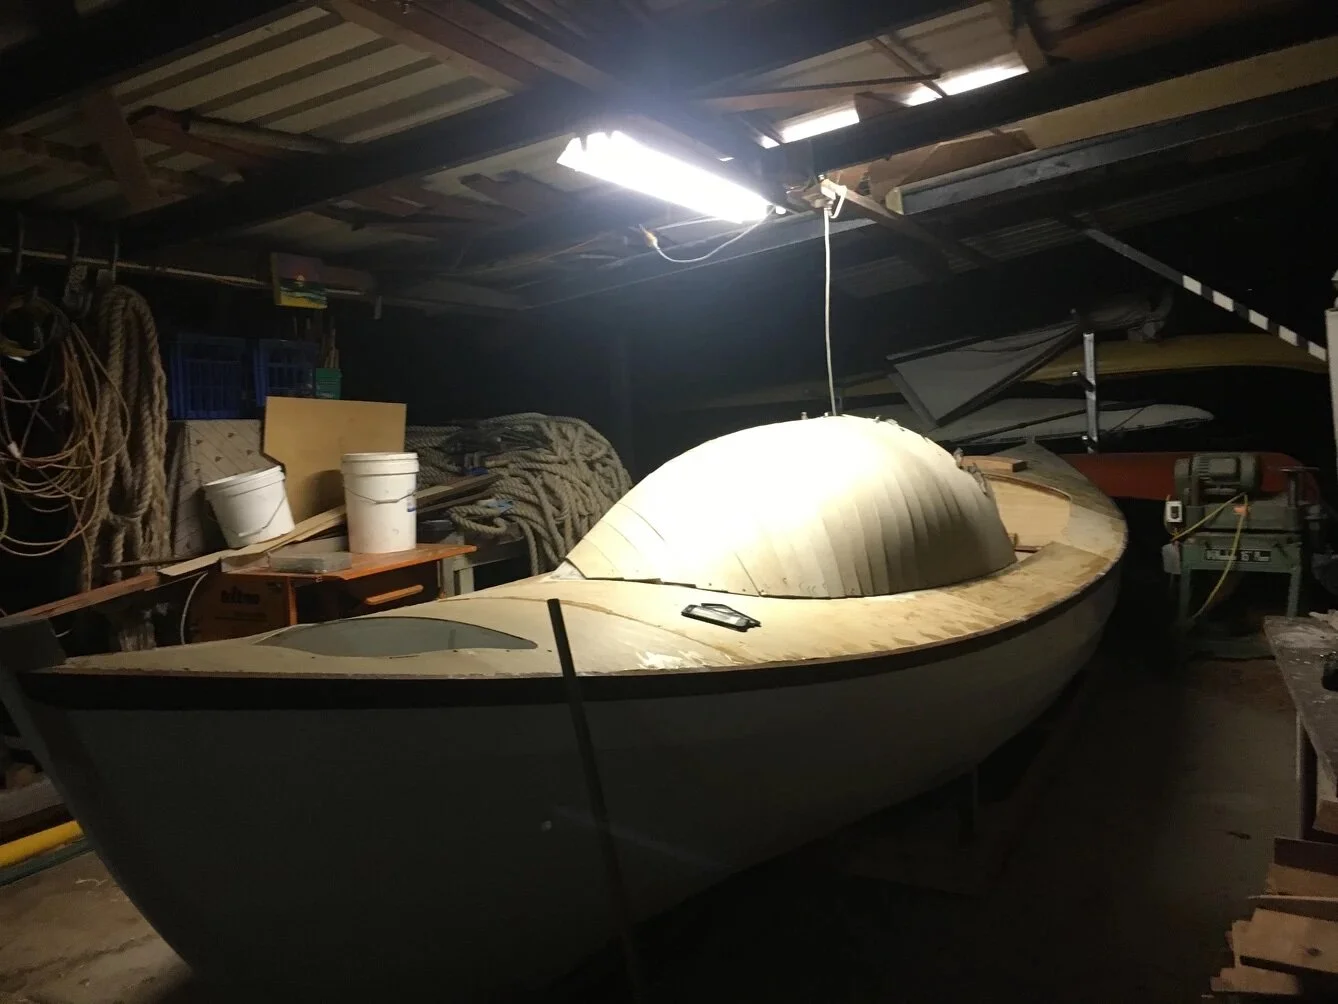
And just like that I had a shapely cabin without designing a complex free form structure, just simple geometry.
There was a bit of guesswork when it came to defining the perimeter of the cabin, i.e. where the battens would land. But once this was decided I was very happy with the shape. I then cut the battens to length and temporarily fastened them to the cleats. They are now referred to as ribbands.
The next job was to glue down pieces of timber (known as cleats) to the inside line of the perimeter, giving a landing for the cabin planking.
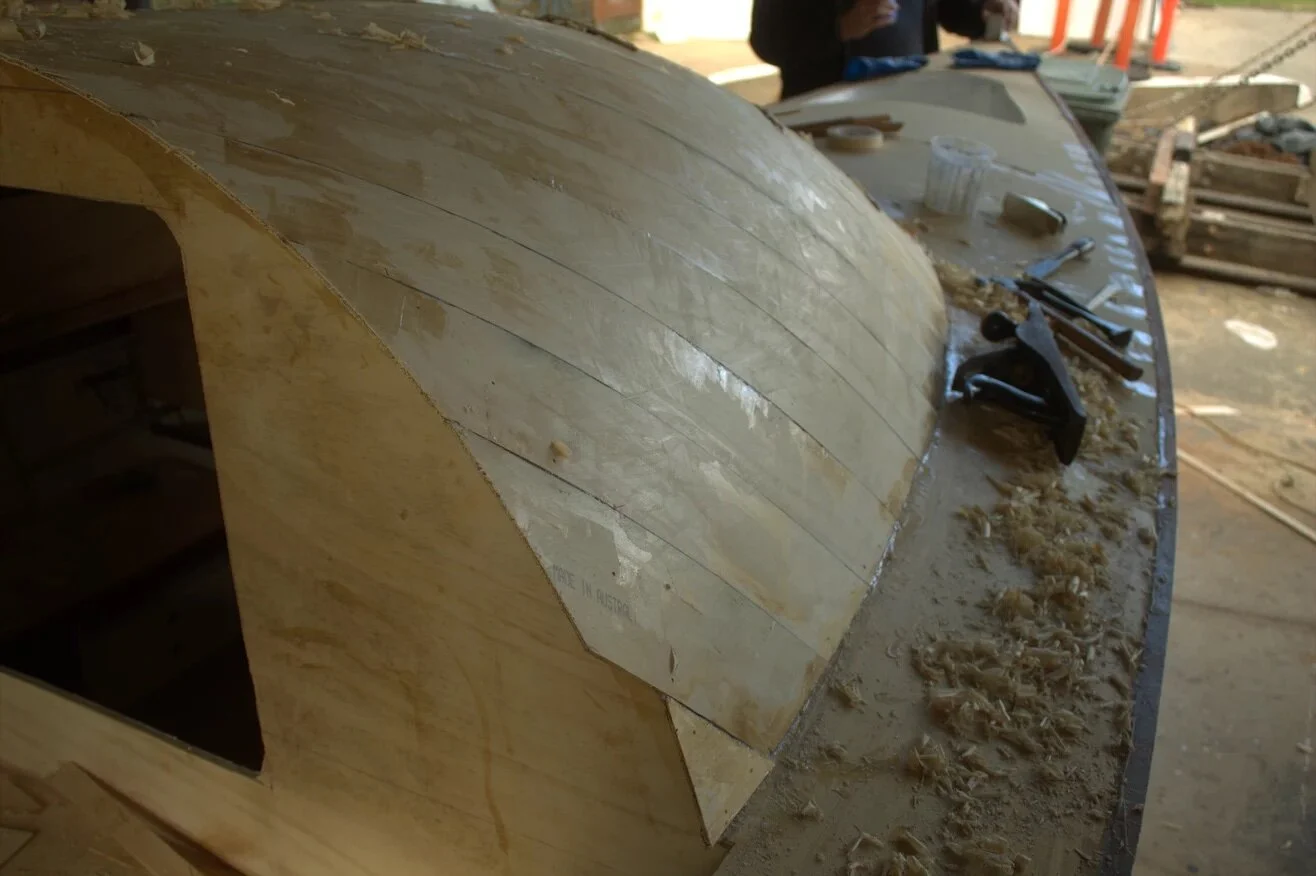
To plank the cabin I decided to use the double diagonal method, where two layers of thin planking are laid +45 and -45 degrees to the centreline/waterline. The method became popular in the 1960s with modern adhesives, but has been around since the 19th century. The curvaceous cabin top on my 1934 gaff cutter is also built double diagonal. So once again I find myself using traditional methods with modern glues.
The planking (or laminating) process was relatively simple, although in retrospect I would have used narrower planks, as I had some trouble getting them to lie flat.
The first layer was fastened with a pneumatic pin gun to the main bulkhead and the cleats. The next layer was temporarily fastened to the first layer, then the small pins were pulled though from the inside, once the glue had gone off. I faired the cabin with hand planes then an orbital sander. No fibreglass was used.
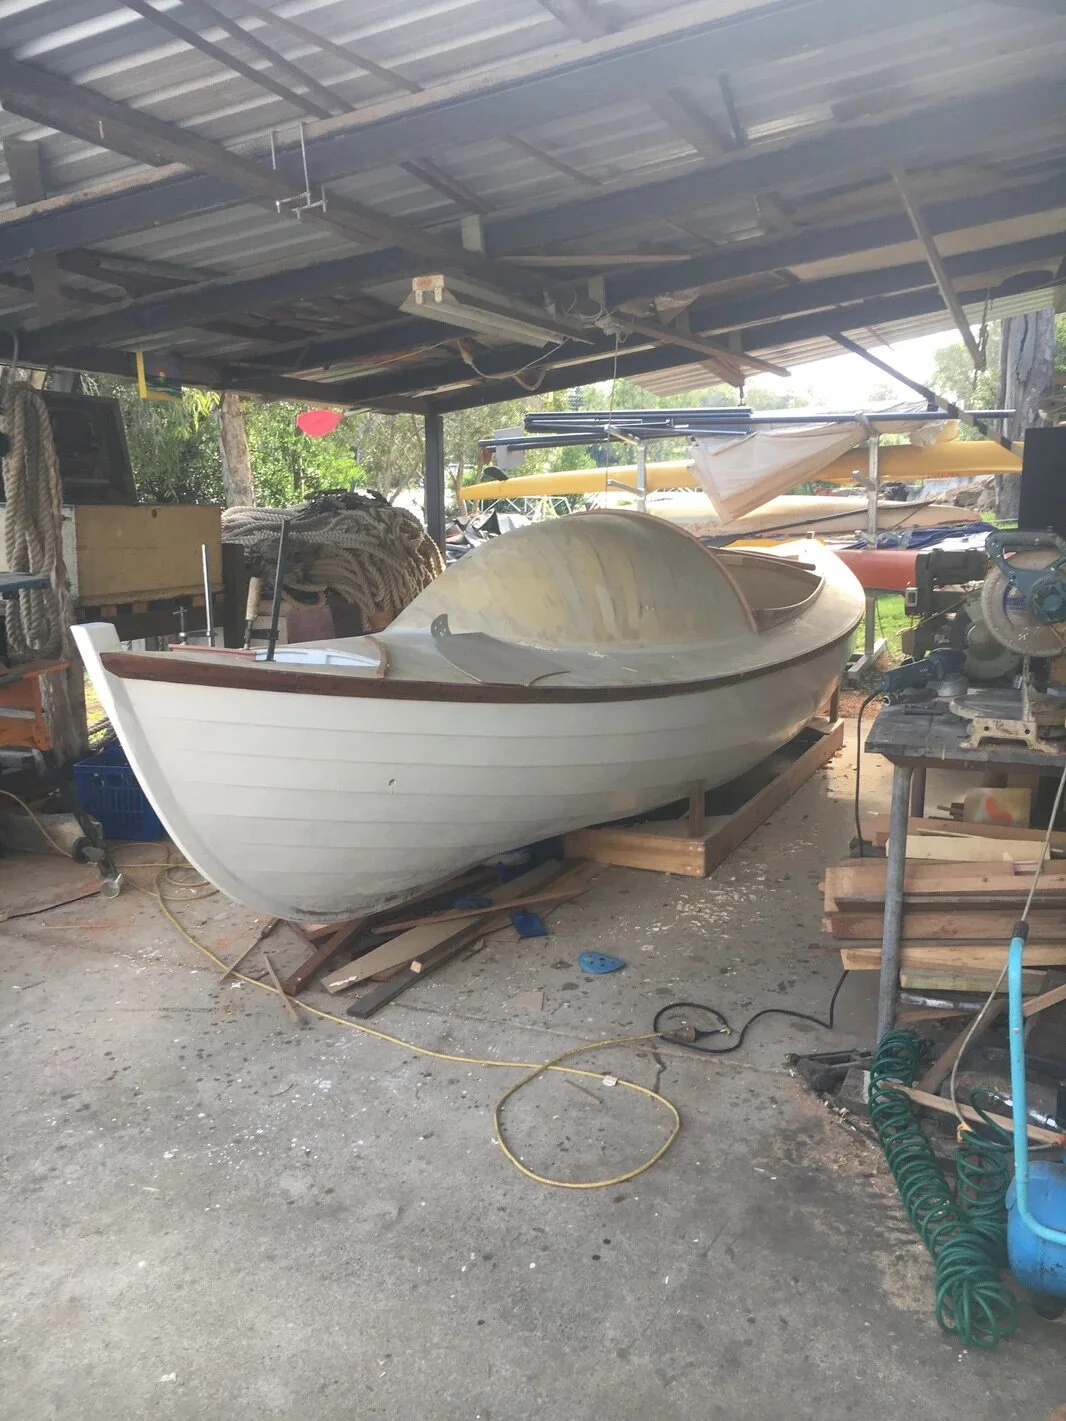
Once it was faired I went inside and removed the temporary mould and the ribbands. I was amazed at how much room there was under that cabin. It's all relative of course, but it felt positively luxurious. Definitely the most room I have ever had in one of my rowing boats.
I breathed a sign of relief after the cabin was finished, as it is the final part of the boat that has a major impact of the look of the vessel. Now I know exactly was she's going to look like, and I'm quietly pleased.
Good times ahead on the boatbuilding train as I move onto fitting the rowing station.
Getting closer now...
